

A Level 2 home charger installation runs $600 to $2,500 for most homeowners. The electrician’s labor, the circuit run from your panel, permit fees, and whether you need a panel upgrade determine where you land in that range. The spread between a simple job and a complicated one is significant.
Most EVs come with a basic 120V “trickle” charger that adds roughly 3–5 miles of range per hour. That works if you drive 20 miles a day and plug in every night. It doesn’t work if you drive 60 miles and want your car ready by morning. A 240V Level 2 charger adds 25–35 miles per hour, which means a depleted battery is full overnight. For most EV owners, installing one is practical and worth the cost.
What you’ll need
Hired professional:
- Licensed electrician (required in most jurisdictions for 240V work)
Materials (usually supplied by electrician):
- Level 2 charging unit ($400–$1,200, depending on features)
- 40–60 amp circuit breaker
- 6- or 8-gauge copper wire
- Conduit and mounting hardware
- NEMA 14-50 outlet OR hardwired connection
Prerequisites:
- Electrical panel with available breaker slots and adequate capacity (typically 200-amp service)
- Garage or exterior wall within reasonable distance of panel (ideally under 50 feet)
- Parking area where the charger cable can reach your EV port
Before you start
This is not a DIY project. A 240V circuit carries enough current to cause fatal shock or start a fire if installed incorrectly. Code requires a licensed electrician for this work in nearly every U.S. jurisdiction, and your homeowner’s insurance will not cover a fire caused by unpermitted electrical work.
Before you hire anyone, check your electrical panel. Most homes built after 1990 have 200-amp service, which handles a Level 2 charger without issue. If you have 100-amp service or your panel is already near capacity (most breakers filled, frequent tripping), budget for a panel upgrade. That adds $1,500–$4,000 to the job.
Verify your municipality’s permit requirements. Some cities issue EV charging permits in 3–5 business days; others take three weeks. Your electrician usually handles the permit application, but confirm who’s responsible before you schedule the work.
Step 1: Choose your charger and installation location
Select a charger based on your EV’s onboard charging rate, not the charger’s maximum output. Many EVs accept charging rates between 7.2 and 11 kilowatts (roughly 30–48 amps at 240V, depending on the vehicle). A 48-amp charger won’t charge a car limited to 7.2 kW any faster, but it costs more and requires heavier wire.
Wall-mounted chargers work for most garages. If your panel is on the opposite side of the house or you park outdoors, a pedestal-mount unit may make more sense. Measure the distance from your panel to the parking spot—every foot of wire and conduit adds cost.
Hardwired chargers connect directly to the circuit and look cleaner. NEMA 14-50 plug-in chargers give you the option to unplug and take the unit with you if you move. Both are code-compliant; the plug version adds about $100 for the outlet and a bit more flexibility.
Step 2: Get quotes from licensed electricians
Request itemized quotes from at least two electricians. The quote should break out:
- Charger hardware (if they’re supplying it)
- Labor
- Wire and materials
- Permit fees
- Panel upgrade (if needed)
A straightforward installation—20 feet of wire, open breaker slot, no drywall or trenching—typically runs $600–$1,200 in labor and materials, plus the charger. Add $300–$600 if the run is 50+ feet or requires running conduit along an exterior wall. Add $200–$400 for the permit, depending on your city.
If your panel is full or undersized, expect $1,500–$4,000 for a panel upgrade to 200-amp service. That’s a separate project with its own permit, inspection, and usually a utility disconnect. Some electricians will do both jobs in sequence; others will refer you to a specialist for the panel work.
Step 3: Apply for permits and schedule utility rebates
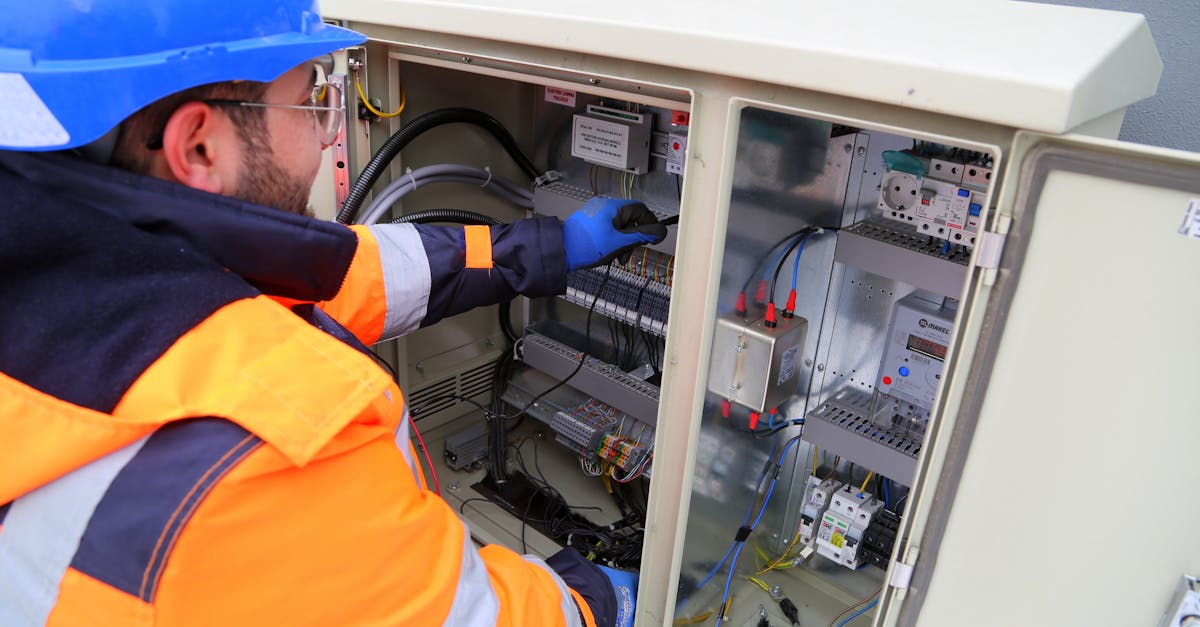
Your electrician usually pulls the permit, but you’re responsible for making sure it happens. Unpermitted work can complicate insurance claims and home sales. Most jurisdictions require:
- Electrical permit for the new 240V circuit
- Inspection after installation, before the circuit is energized
Permit timelines vary. In California and Oregon, permits typically issue in under a week. In some East Coast municipalities, it’s three weeks. Plan accordingly if you need the charger by a specific date.
Many utilities offer rebates for EV charger installation. Amounts and eligibility vary by region and utility. Check the Database of State Incentives for Renewables & Efficiency (DSIRE) to find programs in your area, as rebate forms often require submission within 30 days of installation.
Federal tax credits for EV charger installation have been part of recent legislation, but eligibility, rates, and application deadlines change frequently. Check the IRS website or your tax advisor for current rules before installation.
Step 4: Electrician runs the circuit and mounts the charger
The electrician will:
- Install a 40–60 amp double-pole breaker in your panel
- Run 6- or 8-gauge wire from the panel to the charger location (through conduit if surface-mounted or outdoors)
- Mount the charger or install the outlet
- Bond and ground the circuit per National Electrical Code
If your garage is finished, expect additional labor to fish wire through walls or run surface conduit. If you’re mounting outdoors, the charger must be rated for outdoor use (NEMA 3R or 4 enclosure) and the conduit must be weatherproof.
Most installations take 3–6 hours for a simple run, up to a full day if the panel is far from the parking area or the electrician has to work around finished spaces.
Step 5: Pass inspection and test the charger
Your city or county will send an inspector to verify the circuit meets code. The electrician schedules this, usually within a few days of completing the work. The inspector checks:
- Proper wire gauge for the breaker size and circuit length
- Correct breaker type (GFCI protection is required in some jurisdictions for EV circuits)
- Secure mounting and weatherproofing (if outdoor)
- Grounding and bonding
Once you pass inspection, plug in your EV and verify the charger works. Most Level 2 chargers have a status LED or app that confirms power and charging rate. If your car’s dashboard shows “charging” and estimates a full-charge time of 6–10 hours from empty, you’re set.
What affects the final cost

Circuit distance: Every additional foot of wire and conduit adds roughly $5–$10 per foot in materials and labor. A 20-foot run costs significantly less than an 80-foot run.
Panel capacity: If you have an open 240V breaker slot and adequate service capacity, you avoid the panel upgrade. If not, add $1,500–$4,000.
Garage vs. outdoor install: Outdoor installations require weather-rated equipment and conduit, adding $200–$400.
Finished walls: Running wire through finished drywall is slower and requires patching. Surface conduit is faster but less aesthetic.
Permit fees: Range from $100 in some rural counties to $500+ in high-cost urban areas.
Charger features: Basic 32-amp chargers cost $400–$600. Models with Wi-Fi, scheduling, and load management run $700–$1,200. The installation cost is the same.
Level 2 charger installation requirements
Level 2 chargers operate at 240V and draw 16–80 amps depending on the model. Most residential installs use 32–48 amp chargers, which require:
- Dedicated 40–60 amp circuit breaker per National Electrical Code
- 6- or 8-gauge copper wire (gauge depends on amperage and circuit length)
- 200-amp or larger electrical service (100-amp panels often lack the spare capacity)
Chargers installed in garages or carports may require GFCI protection depending on local amendments to the National Electrical Code. Outdoor installations always require GFCI and weatherproof enclosures.
Some utilities require notification before installing a large EV load. Others offer time-of-use rates that make overnight charging significantly cheaper. Call your utility before installation to avoid surprises on your first post-charger bill.
EV charging permits and timeline
Permit timelines depend on municipality workload and whether your installation is straightforward or requires plan review. Typical timelines:
- Simple installation (existing 200A panel, standard garage mount): 3–7 business days for permit issuance, inspection scheduled within 2–5 days of completion.
- Panel upgrade required: 2–4 weeks for permit, as the utility may need to approve a service upgrade and the inspector may require engineered plans.
- Outdoor or complex runs: Add a week for plan review in jurisdictions that require submitted diagrams.
Inspections usually happen within a few days of your electrician’s request, but in busy markets waits of two weeks can occur. Don’t finalize your EV delivery date until you know the charger will be ready.
When to call a professional
Call a licensed electrician for every step of this project. Attempting 240V electrical work without training and proper tools risks electrocution, fire, code violations, insurance claim denial, and a failed home inspection when you sell.
If your electrician quotes a panel upgrade and you’re unsure whether you need one, get a second opinion. Some electricians are conservative and recommend upgrades that aren’t strictly necessary; others are aggressive and underestimate your panel load. A load calculation per National Electrical Code Article 220 will tell you definitively whether your panel can handle the new circuit.
If your home was built before 1980 or you have aluminum wiring, knob-and-tube, or an outdoor panel in poor condition, consult an electrician who specializes in service upgrades. Older electrical systems sometimes have grounding issues or panel bus limitations that complicate EV charger installation.
FAQ
How much does it cost to install a Level 2 EV charger at home?
Most homeowners pay $600–$1,200 for a straightforward installation with an existing 200-amp panel and a short circuit run. Add $300–$600 for long runs or outdoor mounts, and $1,500–$4,000 if you need a panel upgrade. Total installed cost, including a mid-range charger, typically lands between $1,200 and $2,500.
Do I need a permit to install an EV charger?
Yes, in nearly all U.S. jurisdictions. A 240V circuit is a major electrical modification that requires a permit and inspection. Skipping the permit can void your homeowner’s insurance, complicate a future home sale, and result in fines if discovered during a later inspection.
Can I use a regular 240V outlet for my EV?
Many EVs come with a portable charger that works with a NEMA 14-50 outlet (the same outlet used for electric dryers and RVs). Installing a 14-50 outlet is slightly cheaper than hardwiring a dedicated charger and gives you flexibility to swap chargers or take the unit with you when you move. The circuit requirements and installation cost are the same.
How long does an EV charger installation take?
The electrician’s work takes 3–8 hours depending on circuit length and complexity. Permitting adds 3 days to 3 weeks depending on your municipality. Plan on two to four weeks from initial quote to a fully operational, inspected charger.
General information, not professional electrical advice. EV charger installation involves high-voltage electrical work and must comply with the National Electrical Code and local regulations. Always hire a licensed electrician. Improper installation risks electrocution, fire, property damage, and voiding homeowner’s insurance. When in doubt, consult a qualified professional.