

A $200 pre-purchase inspection can save you $3,000 in hidden repairs—or stop you from buying a car that needs a transmission rebuild before you’ve made the first payment. I’ve seen buyers skip the inspection to save time, then tow the car back to my shop three weeks later with a seized engine. Don’t be that buyer.
This guide walks you through what to look for in a used car, in the order a mechanic checks, with the specific thresholds that separate cosmetic wear from expensive problems. You’ll know when to negotiate, when to walk, and when to hand over $150–$300 for a professional diagnostic that catches what your eyes can’t.
What you’ll need
Tools:
- Flashlight (bright LED, not phone light)
- Tire tread depth gauge or penny
- Gloves (you’ll be checking fluids and getting under the car)
- Phone camera (document anything questionable)
- OBD-II scanner (optional, $20–$50 for a basic Bluetooth model)
Materials:
- Vehicle history report (Carfax or AutoCheck, $40–$50)
- NHTSA VIN lookup results (free, checks recalls and safety data)
- Maintenance records from seller (if available)
Prerequisites:
- Daylight (you need good light for paint and rust inspection)
- Permission to test drive on varied roads (highway, stop-and-go, rough pavement)
- A second person helps but isn’t required
Before you start
If the seller refuses an inspection, walk. That’s a red flag bigger than any fluid leak.
This pre-purchase inspection checklist catches obvious problems—rust, leaks, worn parts—but it doesn’t replace a professional mechanic’s diagnostic. A shop inspection ($150–$300) includes an OBD-II scan, brake measurement, suspension test, and undercarriage lift inspection. For any car you’re serious about, pay for that. What I’m showing you here is the visual walkthrough that tells you whether the car deserves that $200 investment or whether you should keep looking.
Safety note: You’re checking safety-critical systems—brakes, steering, suspension. If you find soft brakes, steering pull, or clunking suspension during the test drive, do not buy the car without a mechanic’s clearance. These aren’t negotiation points; they’re tow-it-to-a-shop situations.
Step 1: Walk the exterior and check the body
Start in daylight. Walk around the car slowly, crouch down at each corner, and look for:
Paint consistency: Run your hand along body panels. Overspray on trim or rubber seals means repainting, which signals prior damage. It’s cosmetic, but it tells you the car’s been hit. A $20–$50 paint thickness gauge (available online) confirms it—factory paint is 3–6 mils thick; a repainted panel will read 8–12 mils.
Rust: Check the rocker panels (bottom edge of the doors), wheel wells, door seams, and undercarriage. Surface rust—a light orange dusting—is cosmetic. Deep pitting that flakes when you scratch it is structural. On a 10+ year old car from a salt state, rocker panel rust holes are a walk-away; you’re looking at $1,500–$3,000 in body work that won’t stop the rust from spreading.
Panel gaps: Doors, hood, and trunk should sit flush with even gaps. Misalignment means the car’s been hit hard enough to shift the frame, or it was reassembled poorly after collision repair.
Glass: Chips smaller than a quarter are normal. Cracks longer than 3 inches may fail safety inspection in some states and cost $200–$500 to replace (or $1,200+ for a windshield with embedded sensors).
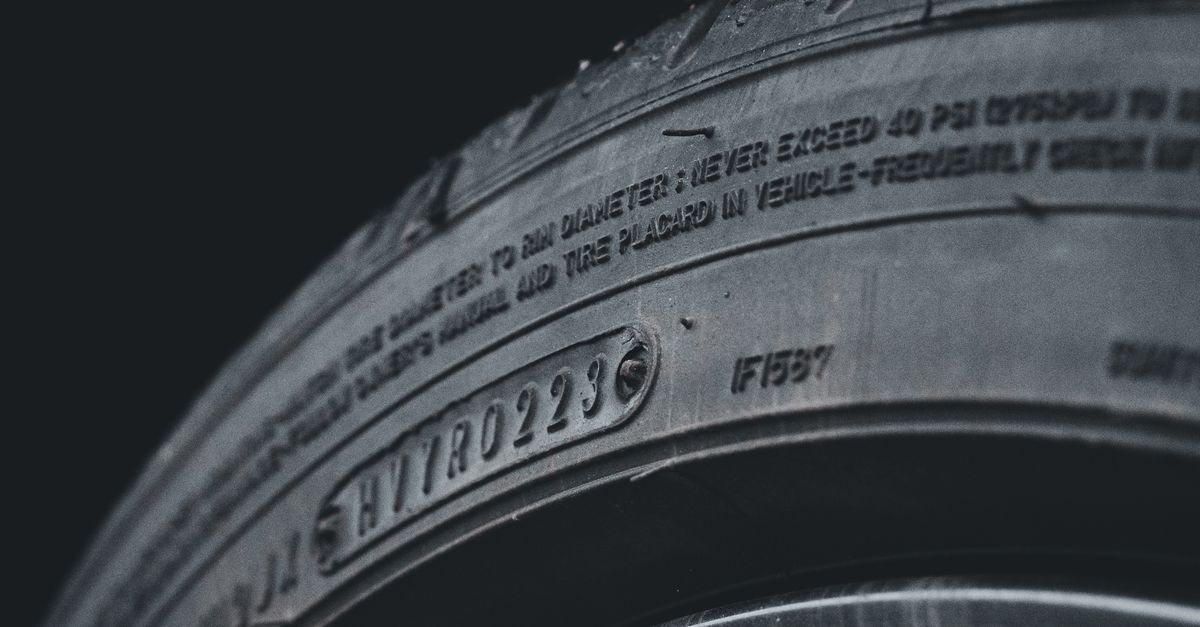
Tires: Check tread depth with a penny—insert Lincoln’s head upside-down into the tread. If you see all of his head, the tire is at or below 2/32”, the legal minimum, and you’re looking at $600–$1,600 for a full replacement set. Safe depth for rain is 4/32” or more. Also check the manufacturing date code on the sidewall (four digits, e.g., “2118” = 21st week of 2018). Tires older than six years are aging out even if tread looks decent; the rubber hardens and loses grip.
Uneven tire wear: If the inner or outer edge is bald while the center still has tread, the car needs an alignment ($100–$150) or has suspension damage ($300–$1,500 depending on what’s bent). Either way, that’s a negotiation point.
Step 2: Interior and electrical systems
Sit in the driver’s seat and work through every control.
Dashboard warning lights: Turn the key to “on” (don’t start the engine). All warning lights should illuminate briefly, then turn off when you start the car. If the check engine light, ABS light, or airbag light stays on, the car needs a diagnostic scan. A check engine light can mean anything from a loose gas cap ($0) to a catalytic converter failure ($1,200–$2,500). Don’t guess—scan it.
Climate control: Run the AC on max cold, then the heat on max hot. AC that blows warm air likely needs a recharge ($150–$200) or has a compressor failure ($500–$2,000). Heat that stays cold means a stuck thermostat ($150–$300) or a heater core leak ($800–$1,500).
Windows, locks, mirrors: Test every power window (stuck motors cost $300–$600 per window), door lock, and mirror adjustment. These aren’t safety issues, but they’re annoying $400 fixes you can negotiate.
Odor: Musty smell means water intrusion—check the carpet under the floor mats for dampness. If it’s wet and the car hasn’t been rained on recently, you’ve got a leak (sunroof drain, door seal, or worse, a heater core). Mold remediation and leak repair can run $500–$2,000. Burnt electrical smell is a walk-away; that’s a fire risk.
Seats and upholstery: Stains and wear are cosmetic unless you’re paying premium pricing. Rips in the driver’s seat bolster are normal on a 100k+ mile car. Complete reupholstery is $500–$2,000, so adjust your offer if it matters to you.
Step 3: Under the hood—fluids, belts, hoses
Pop the hood with the engine off and cold (if you can—some sellers warm it up to hide a rough cold start, which is itself a red flag).
Oil level and condition: Pull the dipstick, wipe it clean, reinsert it fully, then pull it again. Oil should sit between the min and max marks. Color tells the story: light amber or brown is fresh; black is old but not necessarily bad if the level is correct. Thick, sludgy, or gritty oil means the previous owner skipped changes, and you’re inheriting an engine with internal wear. That’s a walk-away on a high-mileage car.
Coolant: Check the overflow reservoir (don’t open the radiator cap on a hot engine—you’ll get scalded). Fluid should be bright green, orange, or pink depending on the type, and sit between min/max lines. Brown or rusty coolant means corrosion inside the cooling system; flush and fill is $100–$200, but if it’s been neglected this long, expect a radiator or water pump failure soon ($400–$800).
Brake fluid: The reservoir is usually near the back of the engine bay on the driver’s side. Fluid should be clear to light yellow. Dark brown or black means it’s old (brake fluid absorbs moisture over time), and while a flush is only $100–$200, old fluid can corrode the brake lines. If the level is low, the car either has a leak or the brake pads are worn down to the point that the caliper pistons have extended to compensate (which means you’re looking at a $600–$1,200 brake job soon). Kelley Blue Book’s maintenance cost tool can provide specific estimates for your vehicle.
Transmission fluid (if there’s a dipstick): Many modern automatics don’t have a dipstick, but if yours does, check it with the engine warm and running (check the owner’s manual for the procedure—it varies). Fluid should be bright red and smell faintly sweet. Dark red or brown with a burnt smell means the transmission is slipping or overheating. Budget $1,500–$4,000 for a rebuild or replacement, which is often more than the car is worth. Walk.
Battery: Look for white, blue, or green corrosion around the terminals. Minor corrosion is cleanable ($10 in baking soda and a wire brush), but heavy buildup means the battery is leaking acid and needs replacement ($100–$200). Check the manufacturing date sticker on the battery—most last 3–5 years.
Belts and hoses: Squeeze the radiator hoses (when cool)—they should feel firm, not spongy or cracked. The serpentine belt should be free of cracks or fraying; if it’s glazed (shiny and smooth), it’s slipping and needs replacement ($150–$300). A broken serpentine belt will strand you.
Step 4: Get under the car (if you can)

If the seller will let you, slide under the front of the car with your flashlight. You’re looking for:
Fluid leaks: A few drops of condensation from the AC drain is normal. Fresh oil, transmission fluid (red), or coolant (green/orange) pooling under the engine is not. Small weeps from a valve cover gasket are cosmetic ($200–$400 to fix when you’re ready); a transmission pan leak dripping onto the ground is a $1,500+ repair you’ll need immediately.
Rust on the frame and subframe: Surface rust is expected on cars from snow states. Structural rust—where the metal is flaking or has holes—is a safety issue. Frame rust can’t be cheaply fixed, and it’ll fail inspection in many states.
Exhaust system: Look for holes, heavy rust, or temporary fixes (duct tape, soup cans—I’ve seen it). Exhaust replacement is $300–$1,200 depending on what’s rotted.
Step 5: The test drive
This is where hidden problems show up. Drive for at least 20 minutes on varied roads—stop-and-go, highway, rough pavement.
Cold start: If you can, arrive early and start the car cold. It should fire up in under 3 seconds and idle smoothly. Rough idle, hesitation, white smoke (coolant burning), or blue smoke (oil burning) all point to engine trouble.
Transmission shifting: Automatic transmissions should shift smoothly without clunking, hesitation, or flaring (engine revs climbing between gears). Delayed or hard shifts mean internal wear. Manual transmissions should engage gears cleanly without grinding; a slipping clutch (engine revs climb but the car doesn’t accelerate) means clutch replacement ($800–$1,500).
Brakes: Brake pedal should feel firm and progressive, not spongy or soft. If it sinks to the floor, there’s air in the lines or a leak—don’t buy the car. Pulsing or vibration during braking means warped rotors ($300–$500 to resurface or replace). Grinding means the pads are gone and you’re metal-on-metal ($600–$1,200 per axle). Per NHTSA and manufacturer specifications, brake pads should have at least 4mm of material remaining; anything under 2mm requires immediate replacement.
Steering: The wheel should feel direct and responsive, with minimal play (no more than an inch or two of free movement at the center). If the car pulls to one side, it needs an alignment ($100–$150) or has a stuck brake caliper or suspension damage. Excessive play in the steering wheel can indicate worn tie rods or a failing steering rack ($500–$1,500).
Suspension: Drive over a speed bump or rough pavement. The car should absorb the bump without excessive bouncing or clunking. Clunking means worn ball joints, control arm bushings, or struts ($400–$1,200 depending on what’s failed). If the car nose-dives hard when you brake, the front shocks or struts are shot ($400–$800 per axle).
Noises: Listen for grinding (brakes or wheel bearings), knocking (engine or suspension), squealing (belt or pulley), or whining that changes with speed (differential or transmission). Any of these noises requires a mechanic’s diagnosis before you buy.
When to call a professional
Even if your visual inspection goes well, pay for a professional pre-purchase inspection ($150–$300) before you buy. A mechanic will:
- Run an OBD-II diagnostic scan to check for fault codes (including pending codes that haven’t triggered the check engine light yet).
- Measure brake pad thickness with calipers (not just eyeballing it).
- Test the battery and alternator output.
- Put the car on a lift to inspect the undercarriage, exhaust, suspension, and CV boots.
- Check for evidence of collision repair (frame damage, welded seams).
- Perform a compression test on the engine if there’s any sign of trouble (rough idle, low power).
Call a mechanic immediately if you find:
- Soft or spongy brakes.
- Smoke from the exhaust (white, blue, or black).
- Transmission slipping or hard shifts.
- Steering pull or excessive play.
- Clunking suspension.
- Warning lights that stay on after starting the engine.
These are safety-critical or expensive failures. Don’t gamble.
Red flags: walk away vs. negotiate
Not every problem is a dealbreaker. Here’s how to sort them:
Walk away if you find:
- Transmission leaks or slipping shifts ($1,500–$4,000 repair).
- Engine knock, blue smoke, or sludgy oil (internal engine damage, $3,000–$6,000+ for a rebuild).
- Frame rust or structural damage (safety issue, often not economically repairable).
- Seller refuses a pre-purchase inspection (they’re hiding something).
- Burnt electrical smell or evidence of electrical fire (fire risk).
- Soft brakes or major steering/suspension failure (safety-critical, expensive, and immediate).
Negotiate the price if you find:
- Worn brake pads (predictable $600–$1,200 expense—subtract that from your offer).
- Worn tires ($600–$1,600 replacement cost).
- Minor fluid leaks (valve cover gasket, oil pan gasket—$200–$500 fixes).
- Cosmetic damage (dents, scratches, worn upholstery).
- Non-critical warning lights (TPMS sensor, trunk latch sensor—$100–$300 fixes).
- Needed maintenance (air filter, cabin filter, old brake fluid—$200–$400 total).
Use Edmunds’ True Cost to Own tool to get specific repair estimates for the make and model you’re inspecting, then subtract that amount from the asking price. Sellers respect concrete numbers more than vague complaints.
FAQ
Do I really need a pre-purchase inspection if the car looks clean?
Yes. A car can look spotless and still have a failing transmission, hidden collision damage, or a check engine light that was recently cleared. A $200 inspection catches problems that cost $3,000+ to fix. It’s the cheapest insurance you’ll ever buy.
Can I do this inspection myself, or do I need a mechanic?
You can catch obvious issues yourself—leaks, rust, worn tires, dashboard warning lights. But you can’t see hidden problems without a lift, an OBD-II scan, and a brake measurement tool. Do the visual walkthrough I’ve outlined here to decide if the car is worth a professional inspection; if it passes your initial check, pay a mechanic to confirm it before you buy.
What if the dealer says they already inspected it?
Dealer inspections are done by the dealer’s shop, which has a financial incentive to sell you the car. Pay for an independent mechanic’s inspection at a shop that has no stake in the sale. It’s worth the $150–$300.
How long does a pre-purchase inspection take?
Your visual walkthrough: 45 minutes to an hour. A professional mechanic’s inspection with a lift and diagnostic scan: 1–2 hours. Schedule it in advance and plan to be there while it’s done—you want to hear the mechanic’s findings directly, not filtered through the seller.
A thorough pre-purchase inspection takes time, but it’s the difference between buying a solid car and inheriting someone else’s $4,000 repair bill. Check the exterior for rust and paint, the interior for warning lights and smells, the engine bay for fluid leaks and worn belts, and take a real test drive that stresses the brakes, transmission, and suspension. Then—no matter how good it looks—pay a mechanic $200 to confirm it before you hand over the money.
General information, not professional mechanical or financial advice. For safety-critical systems—brakes, steering, and suspension—always consult a certified mechanic. Repair costs, maintenance timelines, and vehicle pricing vary by region, condition, and market.